Grow Your Business with Our Photo Booths!
- +1(909) 834-7390
- +86-198 9808 9487

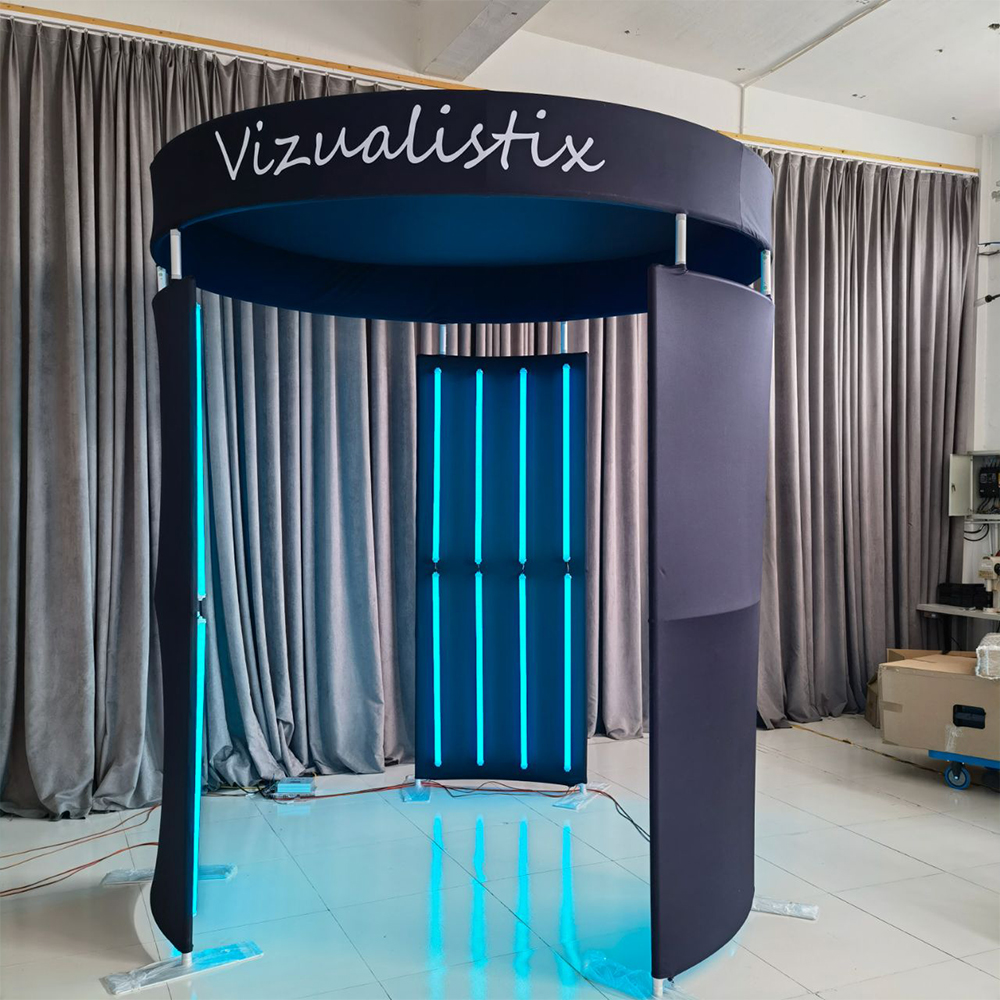
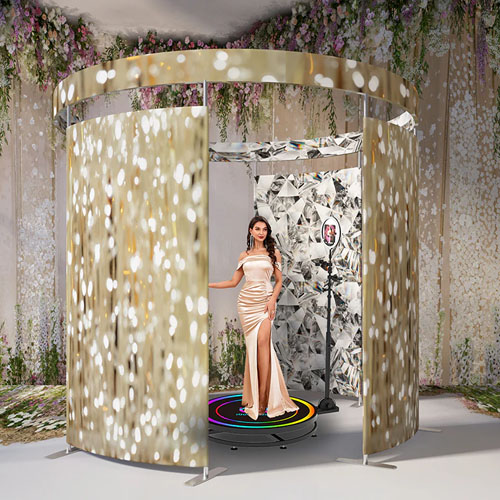
Creating a custom LED 360 video photobooth enclosure can be a fun and challenging DIY project. Here are the general steps you can follow to create one:
Materials needed:
360 photo booth
LED strips (RGB or single-color)
aluminum-alloy tube
Power supply
Wires
Screws
Drill
Saw
Step 1: Plan the design
Determine the dimensions and shape of your enclosure based on the size of your 360 camera and your desired aesthetic. Consider how many LED strips you’ll need, the placement of the camera, and any additional features you may want to add (such as a screen for viewing photos).
Step 2: Build the frame
Using the aluminum-alloy tube, construct the frame of your enclosure. screw them together to create the frame. Make sure to leave an opening for the camera lens.
Step 3: Install the LED strips
Attach the LED strips to the inside of the enclosure using adhesive or screws. Connect the LED strips to the power supply and Arduino board using wires.
Step 4: Mount the camera
Mount the 360 camera in the center of the enclosure using screws or adhesive.
Step 5: Test and refine
Test the enclosure to make sure the camera and LED strips are working correctly. Make any necessary adjustments to the design or programming to achieve your desired results.
Step 6: Finish and decorate
Once the enclosure is working properly, you can add any finishing touches such as paint, decals, or other decorations to make it look unique and personalized.
Overall, building a custom LED 360 video photobooth enclosure requires some technical knowledge and creativity, but it can be a rewarding and fun project to take on.


Send us an email or give us a call. We’d love to connect!

We are a professional 360 photo booth manufacturer, specializing in the research and production of machines. We have developed a complementary app and offer a range of related 360 photo booth products. For wholesale and customization inquiries, please consult for a price quote.